Now the summer months are well underway, you need to make sure you stay on top of the water quality in your home swimming pool.
If you’re new to pool ownership, you’ll soon discover you need to monitor the following metrics regularly:
- pH levels
- Chlorine levels
- Total alkalinity
- Acid demand
With most standard pool test kits will accurately test for these factors, you can also encounter the following specialty tests:
- Chloramines
- TDS (total dissolved solids)
- Biguanide treatment systems
- Phosphates
- Salt in saltwater pools
- Copper
- Iron
I. How Often Should You Test Your Pool Water?

Testing your pool water is not rocket science, but if this is not something you feel comfortable carrying out, simply collect a sample and take it in for professional testing. You should do this each time you open and close your pool.
As a rough benchmark, you should test the pool water in a residential swimming pool at least once a month. You should also test the water as standard each time you open and close the pool for the swimming season.
Testing the pool water frequently is vital to ensure that pH, chlorine, and alkalinity levels are all in balance. For pH and chlorine levels, weekly testing should complement testing the water before opening the pool.
To summarize pool water testing frequency:
- Total alkalinity: Weekly, assuming the pH levels remain unchanged
- pH levels: Check 2 to 3 times weekly
- Chlorine levels: Check 2 to 3 times weekly
- Calcium hardness: Check monthly
- Cyanuric acid levels: Check monthly
- TDS: Check monthly
Some pool owners test all these components daily, but this is usually unnecessary. Stick with these guidelines and you’ll be in safe hands.
Beyond these basics, there are some other occasions when it makes sense to check that pool water levels are balanced. These include:
- After large groups swim in the pool
- Following a rainstorm
- Before you start any algae treatment
- After any changes in weather
- After you add water
- Before you close your pool
- If you notice any color changes or cloudiness with water
So far, so good. How, though, do you go about accurately gathering a sample of the water in your pool?
II. How to Take an Accurate Water Sample
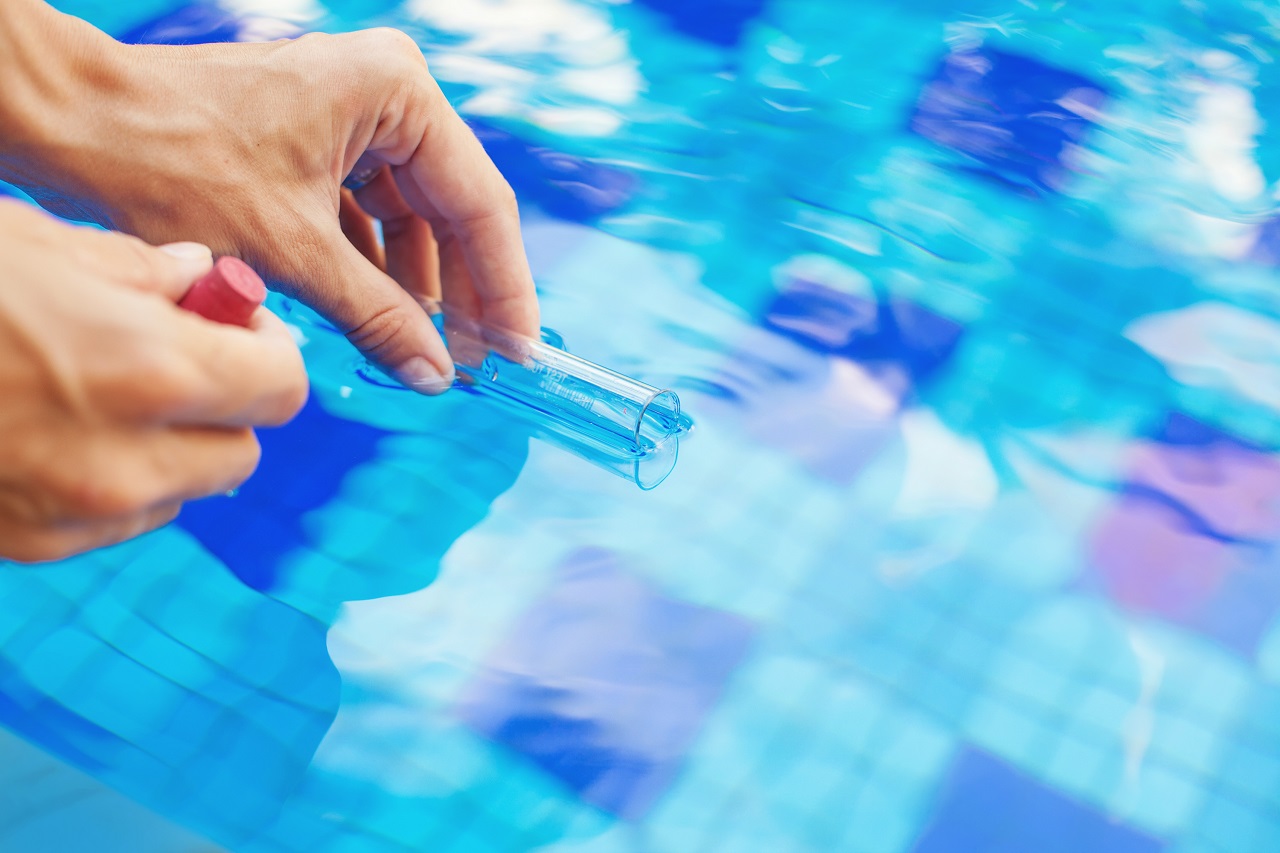
When you’re collecting water samples, make sure you go well below the surface, ideally in the middle of the pool. Stay well clear of the return jets and the pool skimmer.
Always use a clean container for collecting samples. If you need to take the sample for professional testing, you’ll need a securely lidded container.
- Hold the container in your hand outside of the water. Slowly push the opening down toward the bottom of the pool
- Push the container firmly into the water so it goes well below the surface. Ensure the container faces the bottom of the pool so you get some air trapped inside of it
- Turn your hand under the surface so the air escapes from the container
III. Using a Water Testing Kit For Beginners
You’ll find pool testing kits in 3 main varieties:
- Liquid testing kits
- Testing strips
- Digital kits
Using liquid testing kits
A simple liquid testing kits should be adequate for most basic pool water testing needs. If you use these kits properly, you shouldn’t encounter issues with accuracy. Imprecise results arrive from user error rather than any intrinsic problem with these kits.
These liquid testing kits contain OTO (orthotolidine) for testing chlorine along with phenol red for testing pH levels. The kit will also come with some plain white paper.
Collect a water sample first per the above instructions. Then:
- Add the right number of OTO drops to the chlorine side
- Add the right number of phenol red drops to the pH side
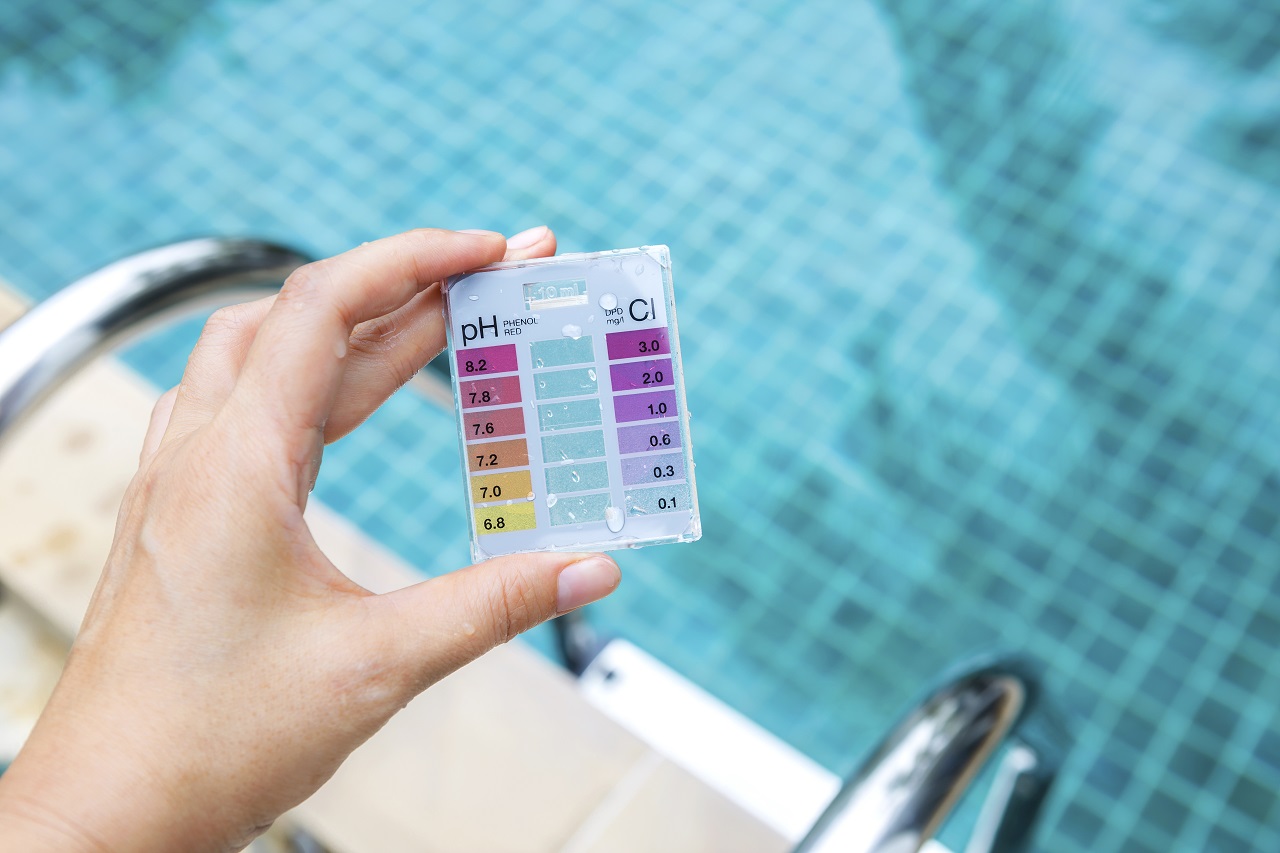
- Put the white paper behind the test kit so you can see the colors clearly. High pH levels are indicated by a red pH side, while the yellower the chlorine side, the higher the chlorine levels
- Compare results with the chart provided with your test kit
Using testing strips
Testing strips are an accurate method of measuring pool water levels, and they’re also super-simple to use.
The drawback of testing strips is that you will use lots of them, so they become on ongoing expense. Fortunately, this expense is negligible.
With testing strips, you can check the pH, chlorine, and alkalinity levels of the water. Additional strips test for iron, copper, bromine, and salt.
Collect a water sample first per the above instructions. Then:
- Take a single test strip and dip it into the pool water
- Remove the strip
- Hold the strip with the dots facing up, or place it onto a level surface. The instructions will tell you how long to leave the strip for. Resist the temptation to shake the strip
- Match up the colors with the chart provided
Using digital kits
Digital kits are reasonably straightforward to use, even if you’re not the biggest tech lover. User error is minimized here as the kit will read the results, leaving you to interpret them.
Digital testing kits can read total chlorine, free chlorine, alkalinity, pH, calcium hardness, bromine, and cyanuric acid levels.
Collect a water sample first per the above instructions. Then, follow the specific instructions bundled with your digital testing kit.
IV. Basic Pool Water Testing: pH, Chlorine, Cyanuric acid, Alkalinity, and Calcium hardness
When you’re testing for pH, alkalinity, and chlorine levels, you’ll be performing very similar actions, so we’ll outline how to test for alkalinity.
Alkalinity Testing
By testing for alkalinity, you’ll gauge the ability of your pool to maintain consistent pH levels. If the pool water is too alkaline, it becomes very challenging to change the pH levels. If alkalinity is too low, those pH levels become volatile and will change too frequently.
We advise checking alkalinity first, as this will impact your ability to alter the pH levels. If, however, you have pool water with pH levels below 7.0, you’ll need to raise these levels first before testing the water again for alkalinity.
Most test strips allow you to test for alkalinity, rendering this a seamless procedure. If you have a liquid testing kit, testing for alkalinity becomes tougher.
If you’re using a liquid kit, collect a water sample first per the above instructions. Then:
- Read the instructions so you know how many drops of the 3 liquids you’ll be using
- Add the first drops of test liquid to the water – sodium thiosulfate – then swirl
- Add the second drops of test liquid to the water – total alkalinity – then swirl until the liquid turns green
- Add the third drops of test liquid to the water – sulfuric acid – and the color should turn red
- Multiply the number of sulfuric acid drops by 10 to determine total alkalinity. 8 drops gives you a total alkalinity of 80 (this is low), while 10 drops gives you a total alkalinity of 100 (this is high)
- Raise or lower alkalinity if required
Testing for pH, Cyanuric Acid, Calcium Hardness, and Chlorine
We have already illustrated the importance of testing for pH and chlorine levels, but it’s also important to monitor calcium hardness. This hard water can leave deposits on your pool and in the plumbing and pool filter, too.
Cyanuric acid serves as a protectant, safeguarding your pool from the sun’s powerful UV rays. If there is too much of this acid, though, the chlorine’s action is slowed down, potentially compromising pool hygiene.
V. Pool Water Testing Tips
- Only use test strips as a last resort. While they are undeniably convenient, you’ll never achieve the same level of accuracy as using a testing kits with a reacting solution
- Only buy the pool chemicals you will use during a single season. These products can easily spoil and lose effectiveness. The reagents – these are the test solutions – will usually only last for a year or so
- Consider refilling the bottles of testing solution rather than buying new kits. This will save you and the environment
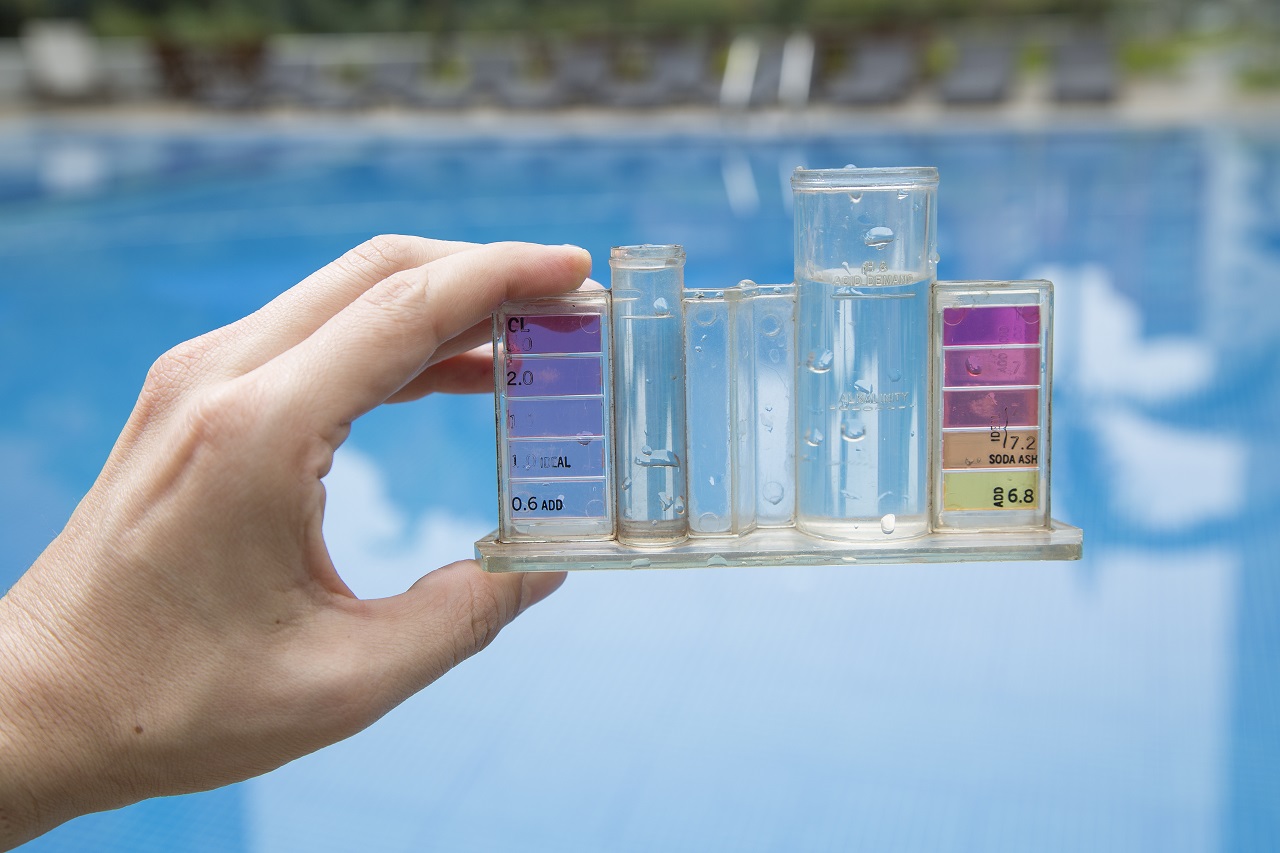
- Think about investing in a comprehensive all-in-on testing kit if you’re just starting out so you can get a feel for testing the easy way
VI. Conclusion
We hope today’s guide has shown you how to test your pool water with kit. You should also now have a clear idea of which type of kit would make the most seamless addition to your pool supplies kit.
As with all aspects of pool maintenance, you shouldn’t begrudge putting in the time and effort. It’ll all be worthwhile when you’re relaxed on your pool lounger with a great book and a cocktail, lounging away those lazy summer afternoons.
Take a moment to bookmark Wild River Country before you pop off today. Come back any time you want impartial guidance on pool ownership and maintenance. We’ll see you soon!